Menu


Create a Showit Blog Category Page With Most Recent Posts
Categories are a great way to nest your WordPress posts into buckets.
But you run the risk of making it look rigid (and boring).
With Showit, you can uplevel stale Categories pages to collections of your most notable work.
By the end of this post, you’ll be able to create a Showit Blog Category page with your most recent posts.
Quickstart tips
Before you get going, duplicate your Blog template on the Showit editor. It’ll make it easier to copy the repeating-post functionality.
Also, add the “Category Title” placeholder to the page title. This can help your readers know they landed on the right page.
Pro tip 1: While you’re at it, go to Advanced and change the Text Tag of your category title to “h1”. This will help readers that use screen readers to navigate your page (yay for accessibility!).
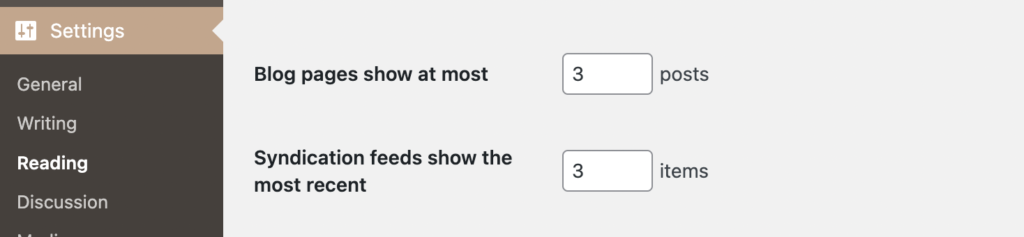
Pro tip 2: If you want to show a set number of posts at each time, you’ll need to go into the WordPress console for your website.
From there, go to Settings > Reading and set the Blog pages show at most to your desired number.
Steps to Create a Showit Blog Category Page with Most Recent Posts
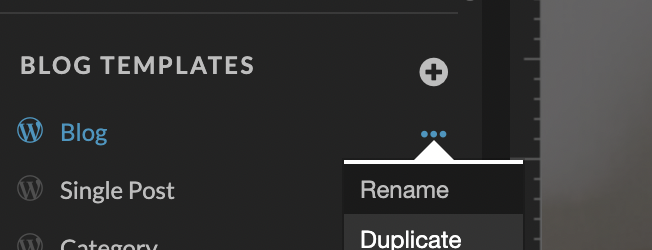
1. Rename your duplicated Blog page
First things first, rename your duplicated Blog template page. You can do this by selecting the Site tab on the left side of the editor.
Head to the Blog Templates panel, select the Blog template, click the the three dots, and select Duplicate.
I like to keep it simple and name it “Category”, but you do you.
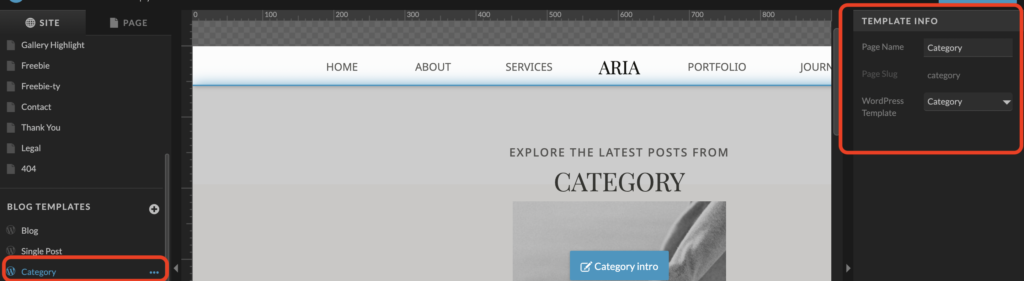
2. Set the WordPress Template to “Category”
With the Category page selected, go to the Template Info tab on the right-hand side of the editor.
Choose the “Category” option from the WordPress Template dropdown.
3. Set the Canvas WordPress setting to “Static Content”
Switch to the Page tab next to the Site tab, and click the canvas that contains the category title.
Ensure the canvas where the Category Title lives is set to “Static Content”.
You can double-check this by looking for the WordPress property for this canvas.

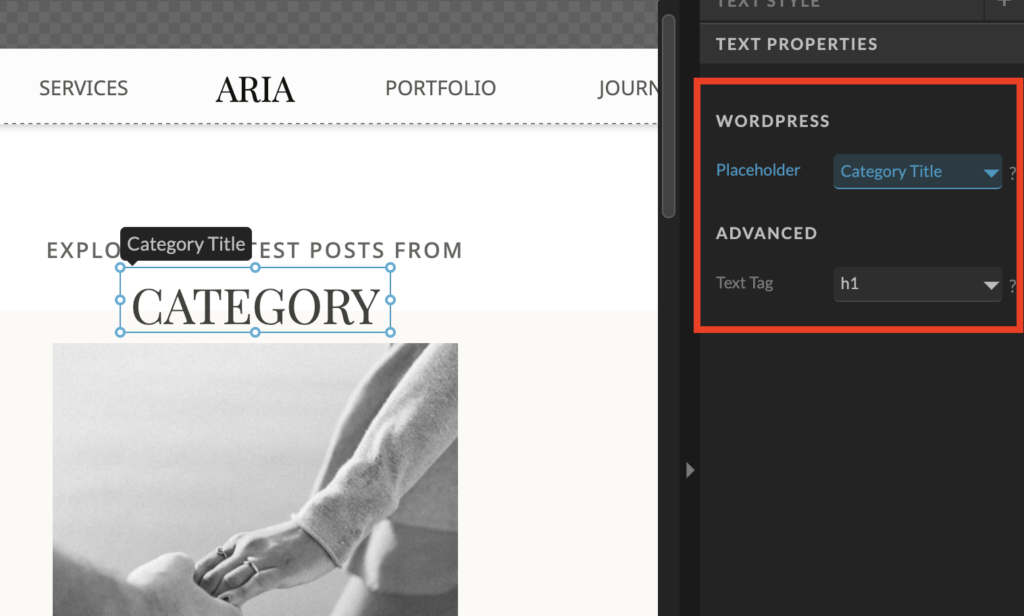
4. Set the WordPress placeholder
If you haven’t already done so, add the “Category Title” placeholder to the page title.
You can do this by selecting the text, expanding the Text Properties panel on the right side of the editor, and setting the WordPress Placeholder to the Category Title option.
By default, the posts on this page will be ordered from newest to oldest.
There you have it! A Showit Blog Category page decked with your most recent work. Let me know if this helps and what you’d like to see next!
P.S. Curious about Showit? It’s basically like Canva, but for websites. They have a 14-day free trial if you want to try it out!
Honest emails on brand, web design, and making your expertise land for the people who need to find you.
Emails for experts whose online presence hasn't caught up to their reputation.


